Camera Angles and Shots for Storyboards: A Visual Guide
Every shot size and camera angle you'll put on a storyboard, each drawn on the same subject, with when to use it and how to mark it on the board.
Guide · · 4 min read
Shot sizes and camera angles are the vocabulary of a storyboard. Learn the names and you can describe any frame in a few words — and anyone on the crew will know what you mean.
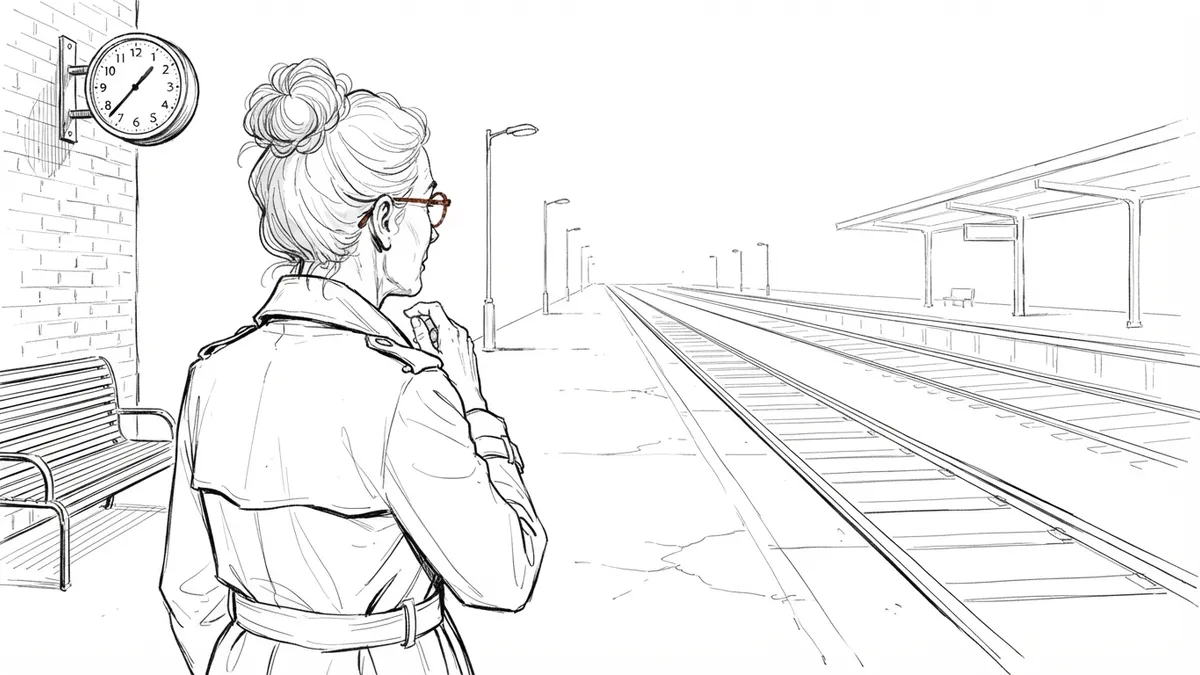
Most guides show each shot with a different film still, which makes them hard to compare. Here every example is the same moment: Ada, a detective, waiting on a train platform at dusk. Only the camera changes.
Shot sizes: how much of the subject is in frame
Extreme wide shot (EWS)
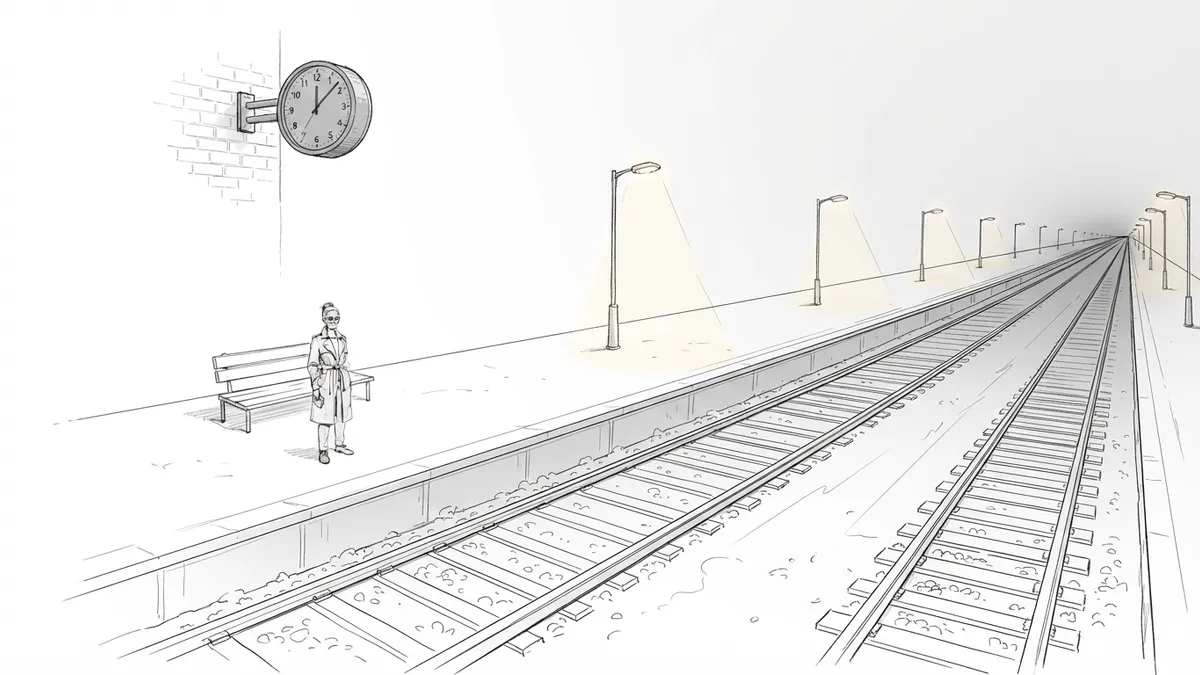
Establishes location and scale. Use it to open a scene, to show isolation, or to cut to after a close-up for contrast.
Wide shot (WS)
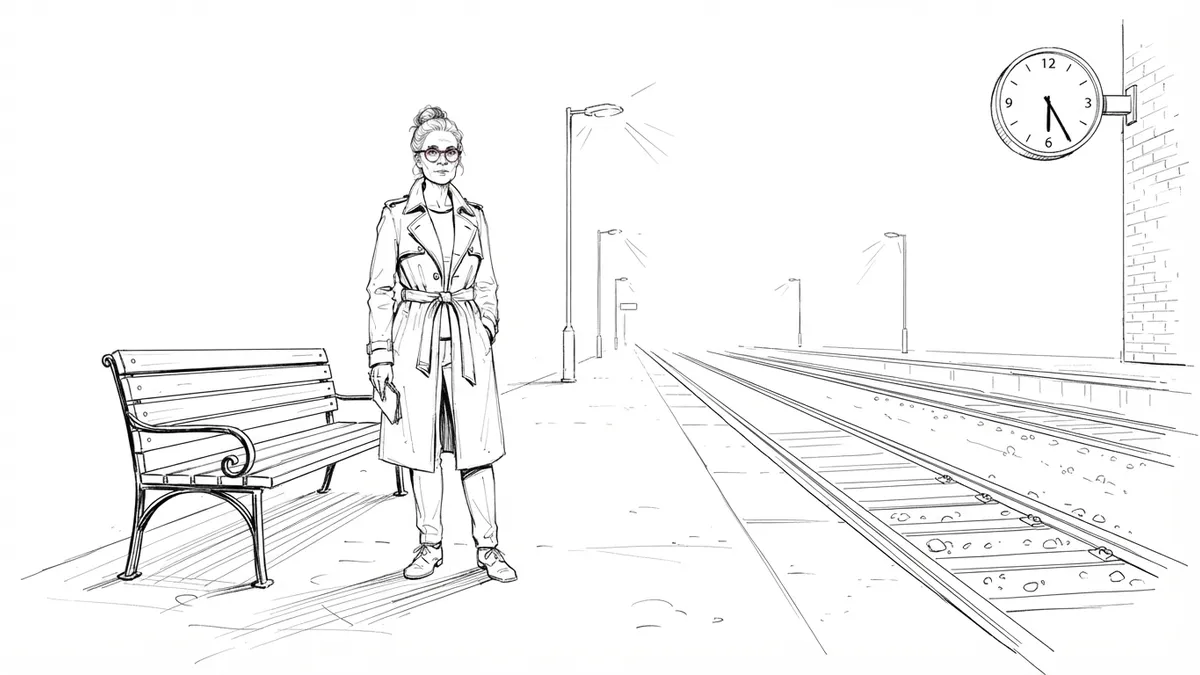
The whole person in their surroundings. Good for blocking — the audience can see where everyone stands.
Medium shot (MS)
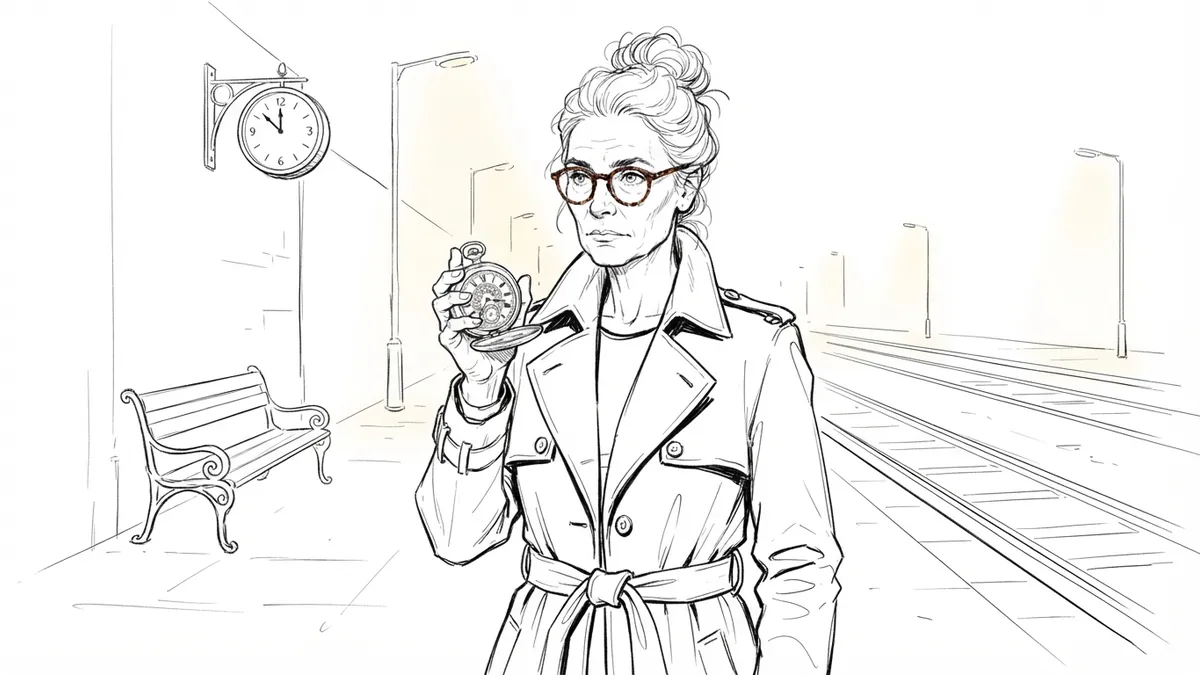
The workhorse of dialogue scenes. Close enough for expression, wide enough for hands and props.
Close-up (CU)
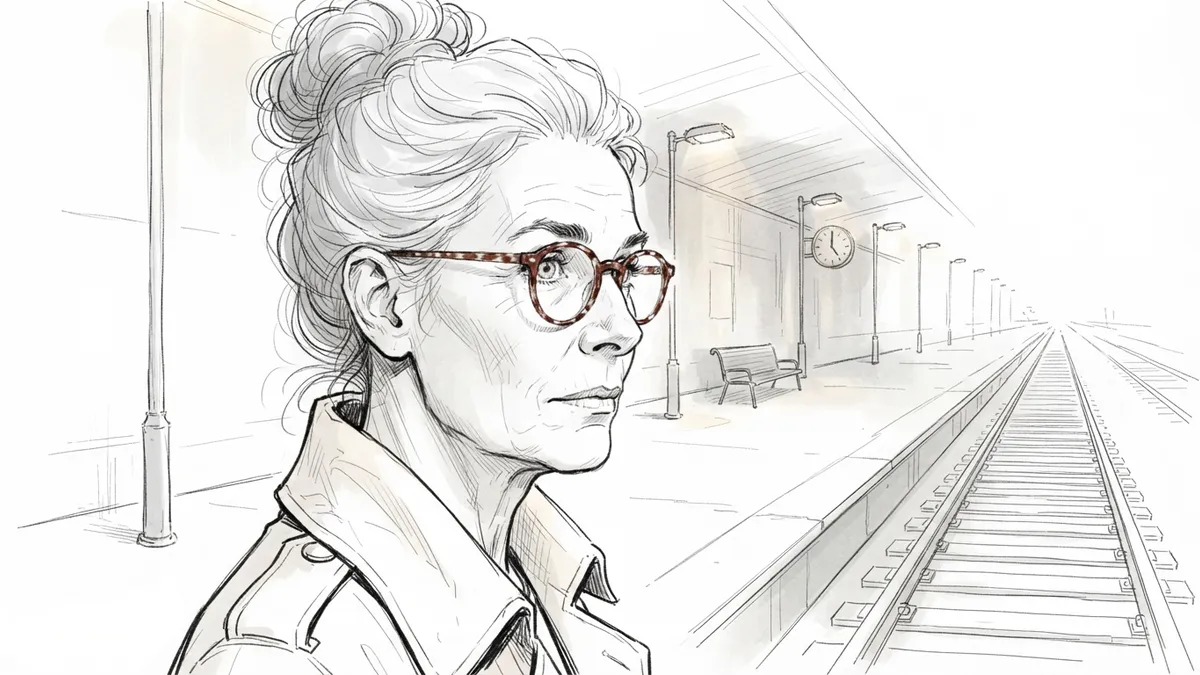
Emotion and reaction. Save close-ups for the moments that matter — use them everywhere and they stop meaning anything.
Extreme close-up (ECU)
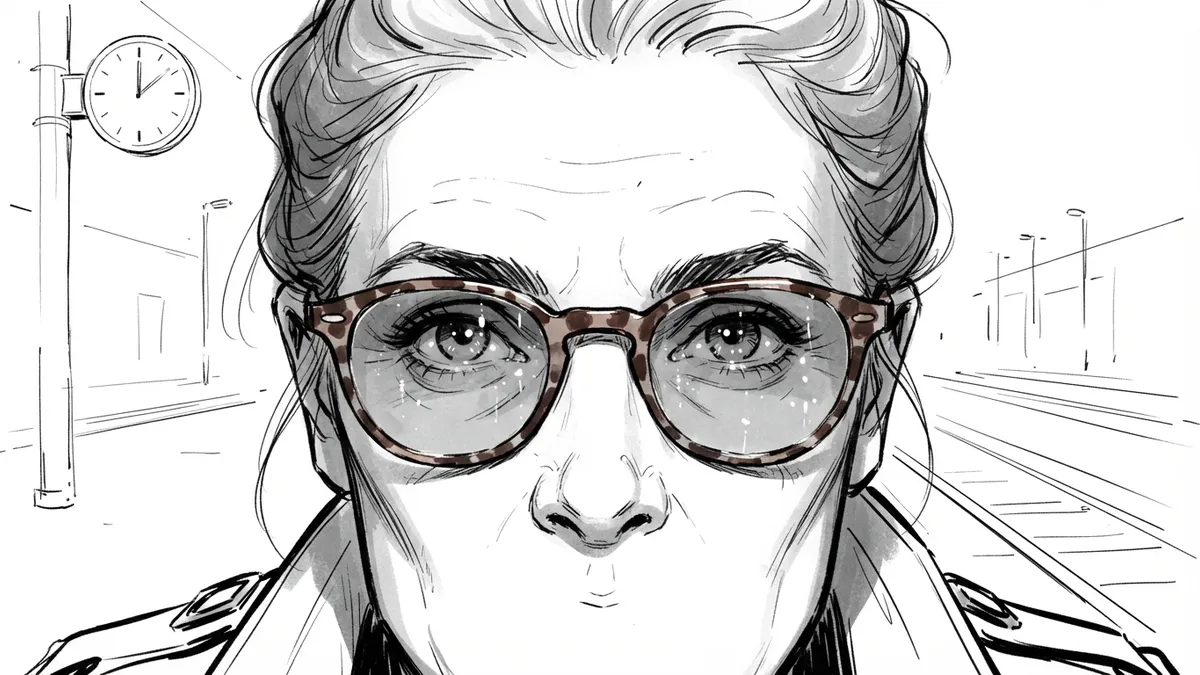
A single detail: eyes, a hand on a trigger, a timestamp. Tension, or a clue the audience must not miss.
Camera angles: where the camera is
Over-the-shoulder shot (OTS)
Places the audience behind one character, looking at what they see. The standard way to cover two people talking, and a quiet way to build suspense.
Low angle shot
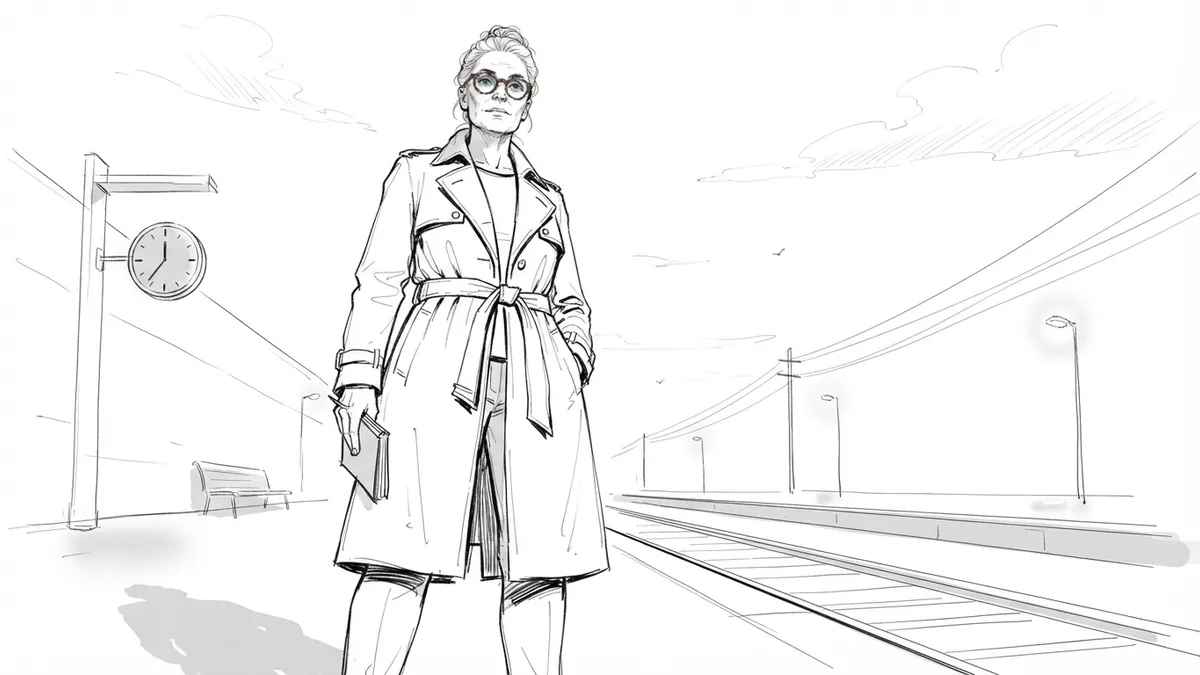
The camera below the subject, looking up. Makes a character dominant, threatening or heroic.
High angle shot
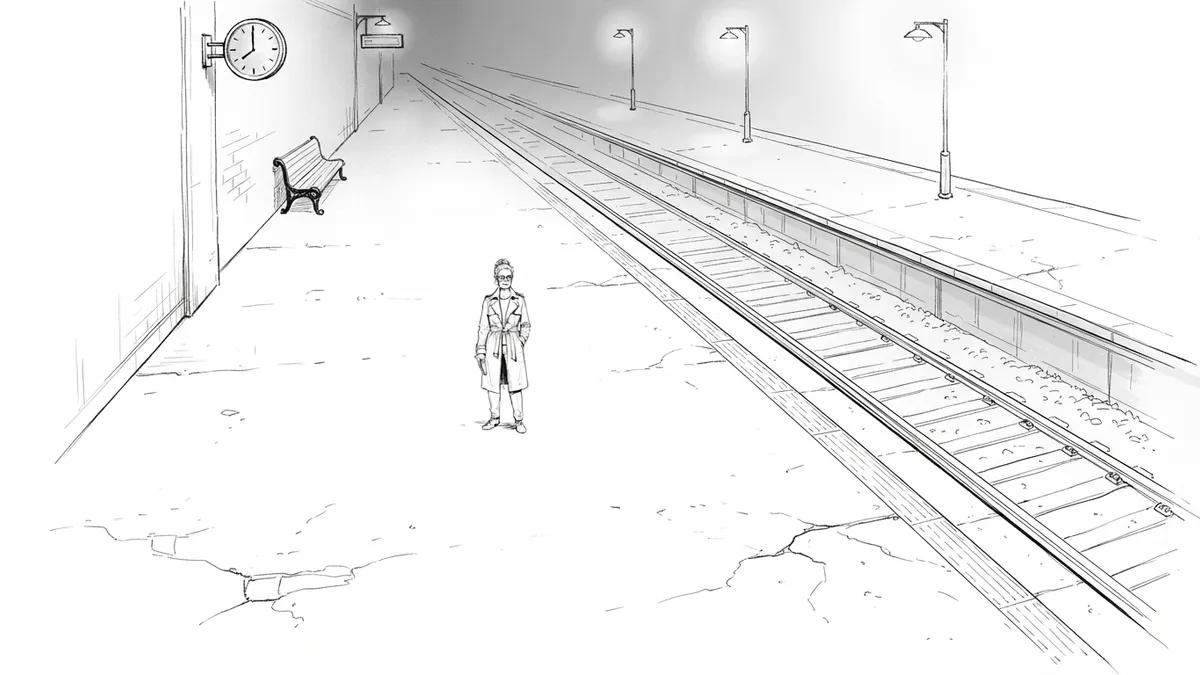
The opposite: vulnerability, isolation, or simply a clear view of the geography.
Dutch angle
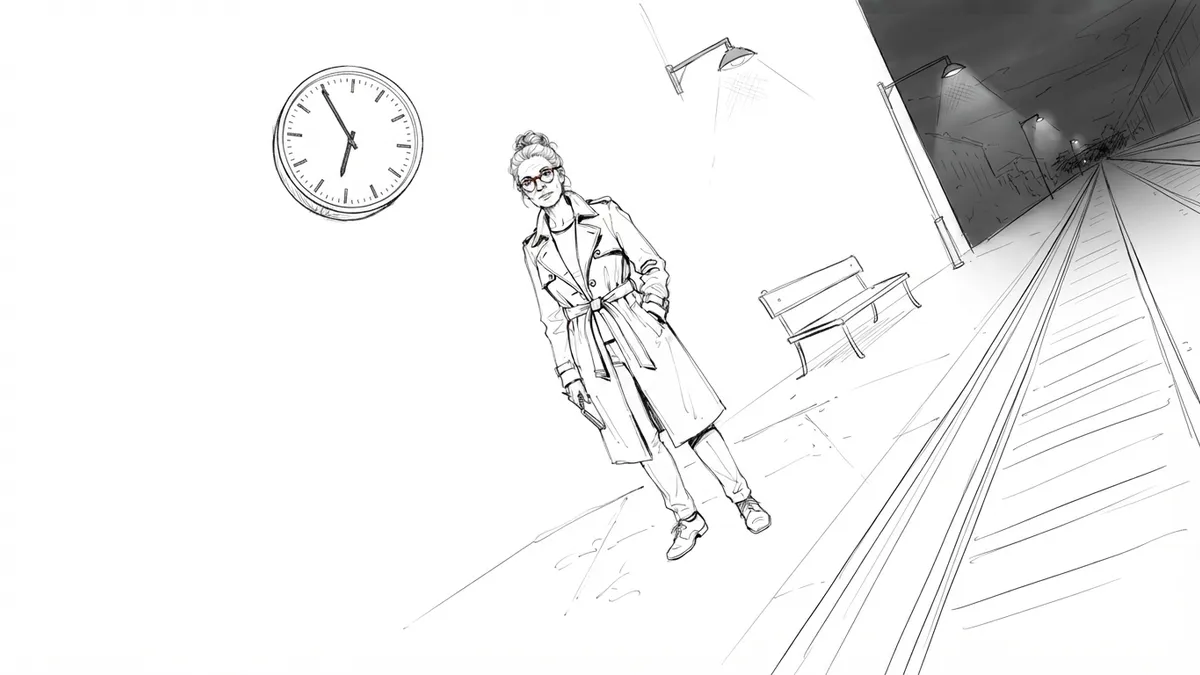
A tilted horizon for unease, disorientation or madness. Strong medicine — one or two in a film is usually plenty.
Bird's-eye view
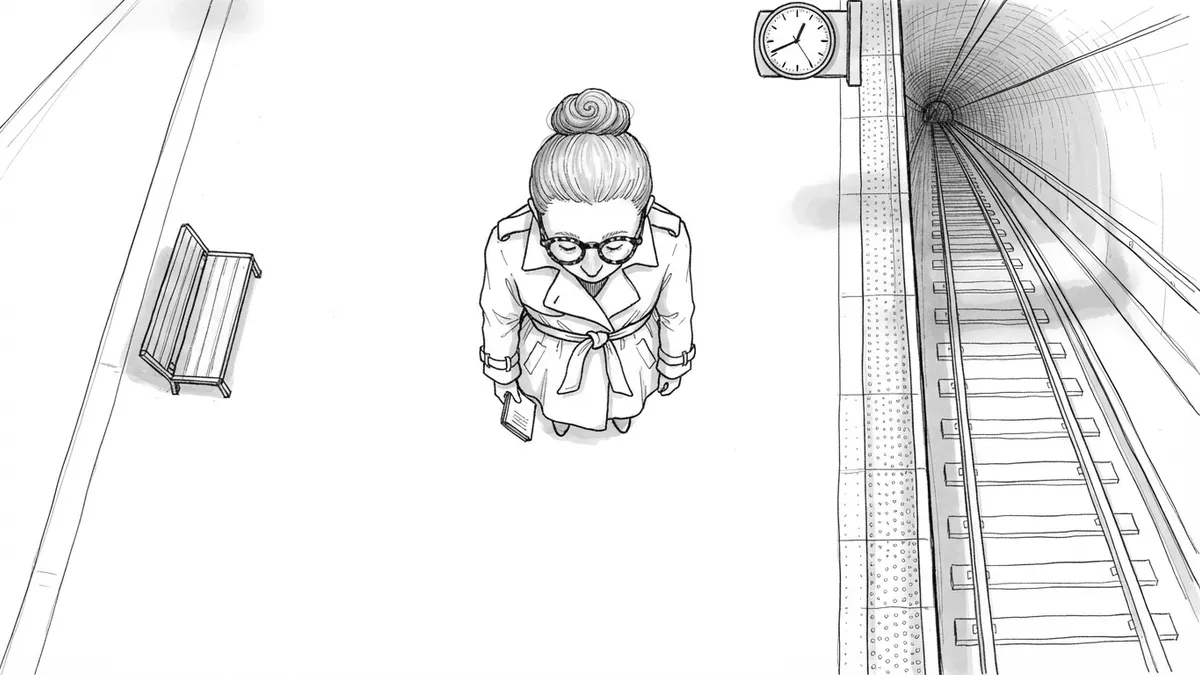
Directly overhead. Turns people into shapes and makes the layout of a scene its subject.
What is the most common shot in a storyboard?
The medium shot, by a distance — it's how most dialogue is covered. A typical scene opens wide, settles into mediums and over-the-shoulders for the conversation, and goes to close-ups for the turning point. If your board is mostly close-ups, the audience will struggle to know where anyone is.
How do you show camera movement on a storyboard?
A single frame can't move, so storyboards use conventions:
- Arrows inside the frame for movement of the subject.
- Arrows outside the frame (or a second frame outline) for camera movement: pan, tilt, push in, pull out.
- Two frames for one shot when a move changes the picture completely — label them "start" and "end".
- Words in the notes for everything else: "slow push in", "tracking right with her", "crane up to reveal the city".
In Storyboard Room the camera field takes this in plain words — "Two-shot, slow push in" — and it's sent to the image model with the rest of the shot, so changing the angle and redrawing one frame is the fastest way to compare options.
Quick reference
| Shot | Use it for |
|---|---|
| Extreme wide | Location, scale, isolation |
| Wide | Blocking, action |
| Medium | Dialogue, gesture |
| Close-up | Emotion, reaction |
| Extreme close-up | A detail, tension |
| Over the shoulder | Conversations, point of view |
| Low angle | Power, threat |
| High angle | Vulnerability, geography |
| Dutch angle | Unease |
| Bird's-eye | Pattern, layout |
For how these come together in a real board, see how to storyboard a commercial or script to storyboard.